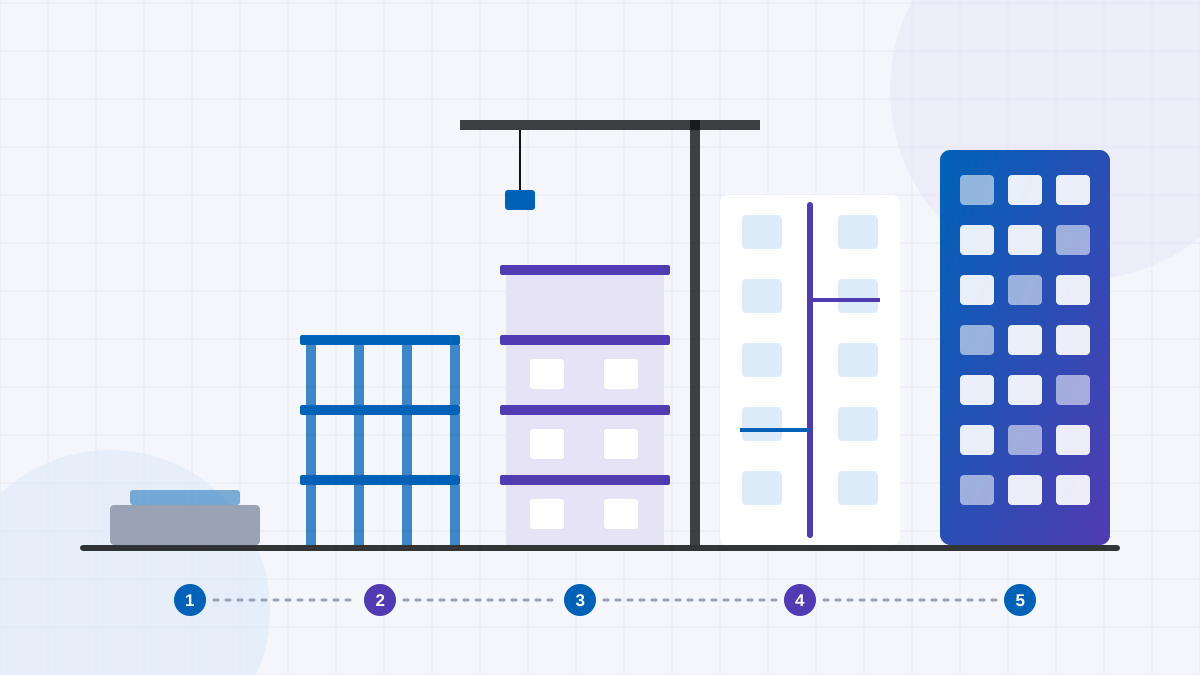
The short answer: The building construction process moves through eight stages: planning and approvals, site preparation, excavation and foundations, the structural frame, masonry, building services, finishes, and testing and handover. Each stage has hold points that must be cleared before the next begins, and most delays come from the handoffs between stages.
Whether it is a G+4 apartment block or a 30-storey tower, every building goes up in roughly the same order. The ground is investigated, the foundation is cast, the frame rises floor by floor, walls close it in, services are threaded through, finishes go on, and the whole thing is tested before people move in.
What separates a project that finishes on time from one that drags on is rarely the order of work. It is how well each stage is prepared, checked and handed over to the next. This guide walks through the building construction process step by step, explains what has to be ready at each stage, and points to the problems that most often hold projects up.
What is the building construction process?
The building construction process is the sequence of stages that takes a building from an approved design to a structure that is complete, tested and ready to occupy. It covers the physical work on site and the inspections, approvals and records that confirm each stage was done correctly.
The process is often drawn as a straight line, but on site the stages overlap. Masonry starts on lower floors while the frame is still rising above. Services rough-in follows masonry floor by floor. That overlap is what makes building projects efficient, and it is also why coordination between stages matters so much.
Why the construction process matters for developers and contractors
For a developer, the construction process is where the budget is spent and where the delivery date is either kept or lost. For a contractor, it is where margins are made or eroded. A few patterns explain why getting the sequence right matters:
- Errors compound downstream. A column out of position at the frame stage affects masonry, door openings, services routes and finishes. Fixing it later costs far more than checking it before the pour.
- Waiting time hides between stages. A crew ready to start, waiting for an inspection, a drawing or material, burns time and money without appearing in any progress report. We cover this in where a construction project actually loses time.
- Some stages cannot be rushed. Concrete needs time to gain strength and cure. Planning around those fixed durations, rather than against them, keeps the schedule honest.
- Records are part of the work. Pour cards, test results and inspection sign-offs are what the authorities, the client and buyers will ask for at handover.
Stage 1: Planning, design and approvals
Before anything happens on site, the project needs a feasible design, a structural design, a budget and the statutory approvals. Typical activities:
- Soil investigation and topographical survey to inform the foundation design.
- Architectural, structural and services (MEP) design, coordinated so that beams, ducts and shafts do not clash.
- Building plan approval from the local authority, and other approvals such as environmental or fire, depending on size and location.
- For residential projects in India that cross the thresholds in the Real Estate (Regulation and Development) Act, 2016, registration with the state RERA before marketing. The Act applies where the land exceeds 500 m² or the project has more than eight apartments (Bihar RERA FAQ on Section 3).
- Bill of quantities, budget and a baseline construction schedule.
In India, design generally follows the National Building Code of India 2016 and the relevant Indian Standards, such as IS 456 for reinforced concrete. Other countries have their own approval routes; our market guide to India, UAE, Singapore and Sri Lanka compares them.
Hold point: do not mobilise until the approved, coordinated drawings for the first stages are issued and the site team knows which revision is current. Building from an outdated drawing is one of the most expensive mistakes on any site, as we explain in the most dangerous drawing on a construction site.
Stage 2: Site preparation and setting out
Site preparation turns an empty plot into a workable construction site.
- Clearing, levelling and temporary fencing.
- Temporary site office, stores, labour facilities, water and power.
- Access roads and a planned layout for material storage, crane positions and deliveries.
- Setting out: transferring the building's grid lines and levels from the drawings onto the ground, using reference points that will survive excavation.
Hold point: setting out should be checked independently before excavation. A grid line shifted at this stage carries through the whole building.
Stage 3: Excavation and foundations
The foundation type comes from the soil investigation and structural design: isolated or combined footings, a raft, or piles for weaker soils and taller buildings.
- Excavation to the designed depth, with shoring or sloping where needed and dewatering if the water table is high.
- Inspection of the excavated bed before any concrete goes in.
- Plain cement concrete (PCC) levelling course, then reinforcement and formwork for footings or raft.
- Waterproofing for basements and below-ground structures.
- Backfilling and compaction in layers once the foundation has gained strength.
Hold point: the engineer should approve the excavated bed, reinforcement and formwork before each foundation pour.
Stage 4: Superstructure (the structural frame)
For most multi-storey buildings in the region, the frame is reinforced concrete: columns, beams and slabs cast floor by floor. Each floor follows a repeating cycle.
- Column reinforcement and formwork, checked for position, cover and verticality.
- Column concrete, then beam and slab formwork with props.
- Beam and slab reinforcement, with sleeves and embedded conduits placed before the pour.
- Pre-pour inspection and sign-off on a pour card.
- Concreting, with cube samples taken for testing.
- Curing, then formwork removal in the correct order.
Two rules from IS 456:2000 shape this cycle on Indian sites:
- Formwork removal times. Table 11 (clause 11.3) gives minimum periods before striking formwork with ordinary Portland cement: 16–24 hours for vertical faces of columns, walls and beams; 3 days for slab soffits and 7 days for beam soffits, with props left under; and 7 days for props to slabs spanning up to 4.5 m (14 days over 4.5 m), 14 days for props to beams and arches spanning up to 6 m (21 days over 6 m). These periods are doubled when the ambient temperature is below 10 °C (IS 456 clause 11 summary).
- Curing. Clause 13.5.1 calls for moist curing of at least 7 days with ordinary Portland cement and at least 10 days where mineral admixtures or blended cements are used, with longer periods advisable in hot, dry weather (IS 456 curing summary).
Cube sampling is also defined by quantity. Under IS 456 clause 15.2.2, a pour of 1–5 m³ needs one sample, 6–15 m³ two, 16–30 m³ three, 31–50 m³ four, and larger pours an additional sample for each further 50 m³ or part of it. Record the sample IDs in the daily report so results can be traced to the exact element.
Stage 5: Masonry, doors and windows
Once the frame has moved a few floors ahead, masonry starts on the lower floors.
- Block or brick walls built to the architectural layout, with lintels over openings.
- Door and window frames fixed, or openings left to the exact size for later fixing.
- Coordination with services: chases and openings for pipes, conduits and ducts marked before the wall is plastered.
Hold point: check opening sizes and wall positions against the latest drawing before masonry starts on each floor.
Stage 6: Building services (MEP)
Mechanical, electrical and plumbing services are installed in two passes.
- Rough-in (first fix): concealed conduits, pipes, drainage lines, ducts and cable trays installed before plaster and false ceilings.
- Testing before closing: pressure tests on water lines and tests on drainage lines before walls and floors are closed.
- Final fix: switches, sockets, fixtures, sanitary ware, panels and equipment after finishes.
Services are where design clashes surface most often. A drawing revision that reaches the plumber a week late can mean breaking finished plaster.
Stage 7: Finishes
Finishes are the most visible stage and often the longest, because many trades work in the same spaces.
- Internal and external plaster.
- Waterproofing of wet areas and terraces, with flood tests before tiling.
- Flooring, wall tiling and skirting.
- False ceilings, joinery, painting and external facade work.
Finishing work goes best when it follows a clear sequence by floor and by room, with each trade handing over a clean, complete area to the next.
Stage 8: Testing, snagging and handover
Before the building is occupied, everything is tested and checked.
- Commissioning of lifts, fire systems, pumps, electrical systems and other services.
- Snagging: a room-by-room inspection to list defects, which are then fixed and closed out.
- Completion and occupancy certificates from the relevant authorities.
- Handover documents: as-built drawings, test reports, warranties and operation manuals.
Handover is where the records from every earlier stage are needed. Projects that kept clean daily records find this stage far easier.
Who does what at each stage
A building project involves many parties, and confusion about who signs off what is a common source of delay. The exact roles depend on the contract, but this is a typical split on a developer-led project.
| Stage | Leads the work | Checks and approves | Key records |
|---|---|---|---|
| Planning and approvals | Developer, architect, structural and MEP consultants | Local authority, RERA (where applicable) | Approved drawings, permits, registration |
| Site preparation | Main contractor | Project manager, surveyor | Site layout, setting-out records |
| Foundations | Main contractor, piling contractor | Structural engineer | Excavation approvals, pour cards, test reports |
| Superstructure | Main contractor, formwork and steel crews | Structural engineer, QA/QC engineer | Pour cards, cube results, formwork removal records |
| Masonry | Masonry contractor | Site engineer, architect | Inspection checklists, DPR quantities |
| Services | MEP contractors | MEP consultant | Pressure and continuity test records |
| Finishes | Finishing contractors | Architect, QA/QC engineer | Flood tests, snag lists |
| Handover | Main contractor, developer | Local authority, client | Completion and occupancy certificates, as-built drawings |
Agree this split in writing at the start of the project. When everyone knows who must inspect what, hold points are booked in time instead of being discovered on the morning of the pour.
The records each stage should leave behind
Good records are not paperwork for its own sake. They are what lets the team prove quality, justify bills, explain delays and hand over a building the authorities will certify. At minimum, keep:
- Daily progress reports with quantities by location, manpower and hindrances, every working day. See our DPR guide.
- Drawing register showing which revision of each drawing was issued to site and when.
- Pour cards and inspection checklists for each structural element, signed before concreting.
- Test records: cube results traced to the element, material test certificates, services tests.
- Material records: indents, goods receipt notes and issue slips, so consumption can be traced to work.
- Instructions and changes: who asked for what change, when, and on which drawing.
- Photos of concealed work, such as reinforcement before a pour and services before plastering, tagged with location and date.
The test of a good record is simple: six months later, can someone who was not on site find out what happened on a given day at a given location? If yes, the record is doing its job.
How the stages overlap on a multi-storey building
On paper the stages are sequential. On a real multi-storey project they run in parallel, floor by floor, like a staircase:
- While the frame is being cast on upper floors, masonry is underway a few floors below.
- Services rough-in follows masonry, and plaster follows services rough-in.
- Waterproofing, flooring and finishes start on the lowest floors while the top is still being built.
This overlap is efficient, but it means several trades depend on each other at once. A delay in the frame eventually reaches every trade below it. That is why the floor cycle of the structure usually sits on the critical path, and why look-ahead planning matters so much: each trade needs to know when its floor will be ready, and the floor needs to be genuinely ready when they arrive.
The biggest building construction process problems on site
- Work starting from an outdated drawing, leading to rework once the correct revision arrives.
- Materials arriving late or in the wrong quantity, so crews wait or switch to less urgent work. See construction material management.
- Inspections and approvals raised late, holding a pour or a closing-up activity for a day or more.
- Poor handoffs between trades, where one crew leaves an area incomplete and the next cannot start.
- Progress that is not measured daily, so slippage is noticed only at the monthly review. The daily progress report is the first line of defence.
- Cost drifting with no link to site events, which makes overruns hard to explain or recover. See construction cost control.
How to run the construction process step by step
- Break the schedule down by floor and by trade. A master programme by stage is not enough on site; the team needs a look-ahead of what each crew does in the next two to three weeks.
- Define hold points in advance. List every inspection and sign-off needed before a pour, before closing walls and before finishes. Book them before they are needed.
- Check readiness a few days ahead. For each upcoming activity, confirm the drawing, materials, labour, equipment and preceding work are ready.
- Record progress daily against locations. Quantities by floor and grid, not just percentages.
- Track blockers with owners. Every hindrance gets a reason, a start time and a named person to clear it.
- Review weekly against the plan. Compare planned and actual work, look for repeat causes of delay and adjust the look-ahead. See our construction scheduling guide.
- Keep the quality trail as you go. Pour cards, test results, inspection records and photos filed by element and date.
Construction stage readiness checklist
- Is the current, approved drawing revision on site for this activity?
- Are materials for the next three days on site or confirmed for delivery?
- Is the labour crew confirmed, by trade and contractor?
- Has the preceding activity been completed and handed over?
- Are inspections and approvals booked for the hold points?
- Are formwork removal and curing periods built into the floor cycle?
- Are cube samples, pour cards and inspection records being logged by element?
- Is today's progress recorded by location in the daily report?
Where software fits
Most of the information needed to run the construction process already exists on site. It is in group chats, voice notes, registers and phone galleries. The difficulty is that it is scattered, so the project manager has to call around to know what is ready, what is blocked and what was done.
Construction management software helps when it captures that information as part of normal site work and connects it: progress by location, drawings with the current revision clearly marked, attendance by crew, and blockers with owners. Brikito, construction management software with Brik AI, is built around that idea: site teams post updates in the chat or by voice, and the progress, drawings and attendance for each stage are recorded in one app the office can see.
Frequently asked questions
What are the main stages of building construction?
The main stages are planning, design and approvals; site preparation and setting out; excavation and foundations; the structural frame; masonry; building services; finishes; and testing, snagging and handover.
How long does it take to construct a building?
It depends on the size, structure, site conditions, approvals and resources. The structural frame is usually governed by the floor cycle, which includes formwork, reinforcement, concreting and the formwork removal times set by the design code. Build the schedule from those durations rather than a fixed rule of thumb.
When can formwork be removed from a slab?
Under IS 456:2000 Table 11, with ordinary Portland cement, slab soffit formwork can be struck after 3 days if props are left under, and props removed after 7 days for spans up to 4.5 m or 14 days for longer spans. Periods double below 10 °C, and the engineer should confirm removal on site.
How many days should concrete be cured?
IS 456 clause 13.5.1 requires at least 7 days of moist curing for ordinary Portland cement and at least 10 days where mineral admixtures or blended cements are used, with longer curing advisable in hot, dry weather.
What is a hold point in construction?
A hold point is a stage where work must stop until an inspection or approval is completed, for example before concreting a slab or closing a wall that contains services. It protects quality by making sure hidden work is checked before it is covered.
What documents are needed at handover?
Typically as-built drawings, test and commissioning reports, warranties, operation and maintenance manuals, and the completion or occupancy certificates required by the local authority.
Build the sequence, then protect the handoffs
The order of the building construction process is well understood. The difference between projects is how carefully each stage is prepared and handed over: the right drawing, the right material, the inspection booked in time, and progress recorded every day.
Treat every stage boundary as a checkpoint, and most of the delays and rework that projects accept as normal start to disappear.